Having a few leftover 18650 batteries (about … too many), I decided to put them to use instead of recycling them, so let’s build a power pack.
DISCLAIMER don’t do this unless you know what you’re doing. I’m not responsible for anything you might do wrong.
First, had to decide the voltage. Considering I wanted to use it for portable operations and most of my stuff runs on 13.8V, having a 4S pack made the most sense (as it’s easy and cheap to drop voltage).
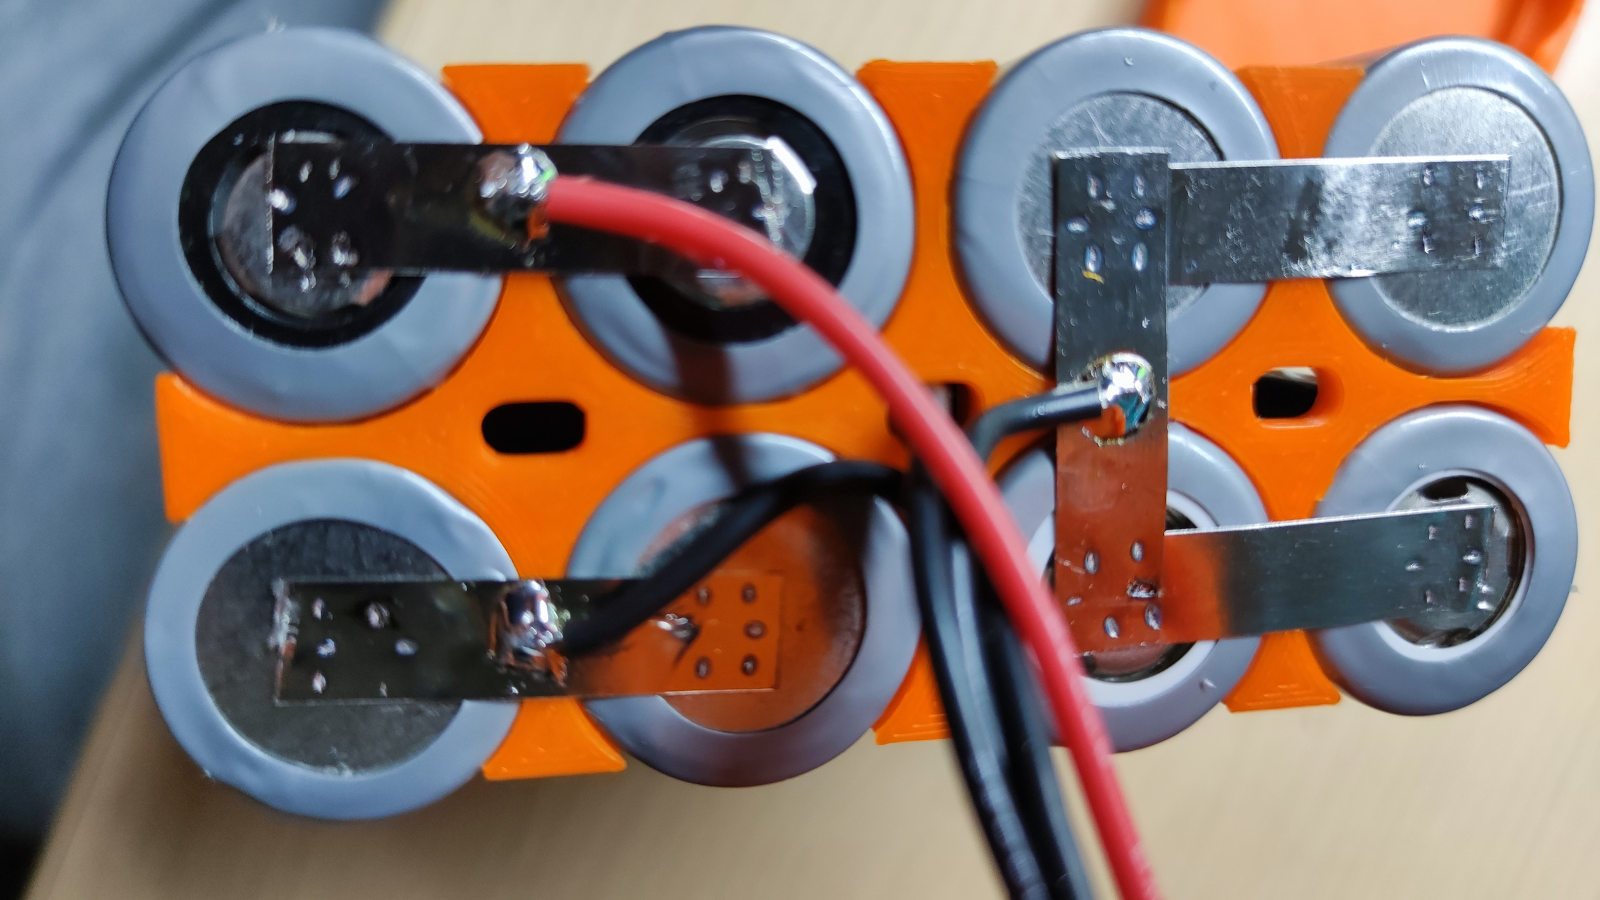
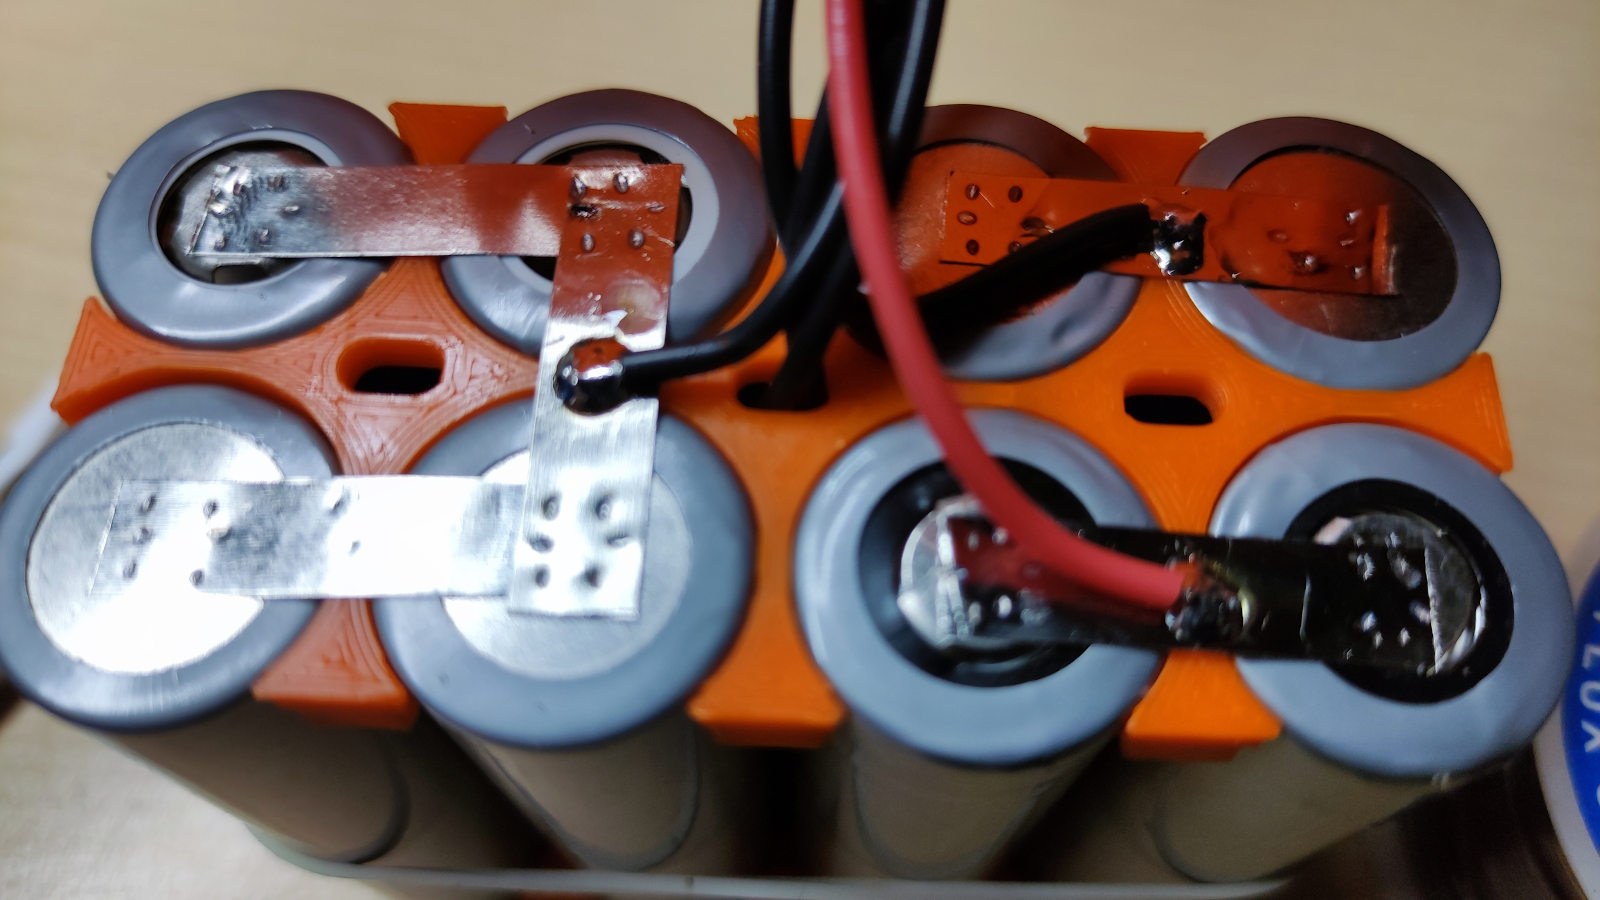
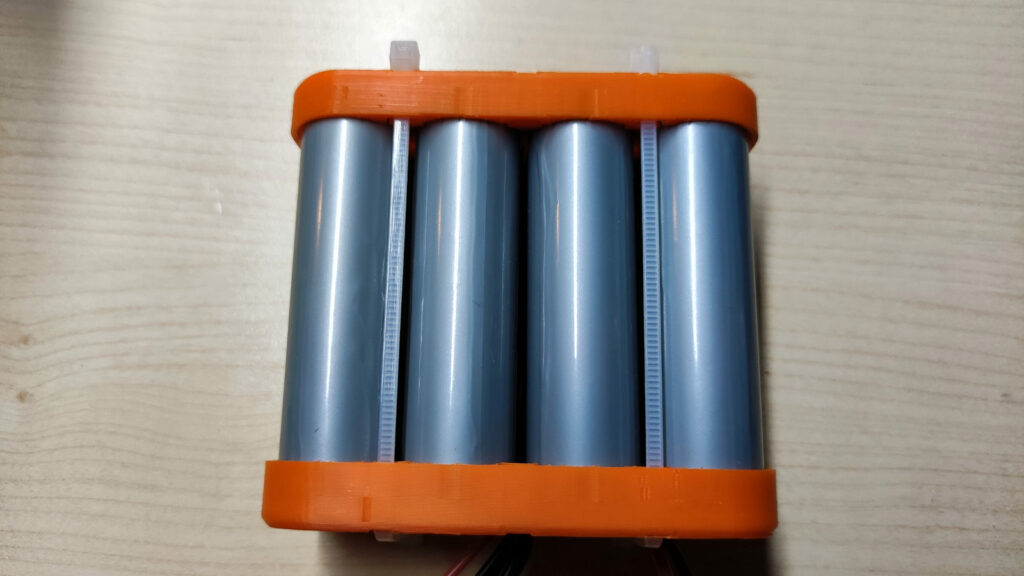
18650 crash course: each of these “batteries” is considered a 1S element. Fully charged, it puts out 4.2V; it needs to be stored at around 3.7V and can be discharged down to around 3.2V-3.15V. 18650 elements can be put in series (1S would be one battery in series, 2S would be two batteries in series, etc) and/or parallel (2P means two batteries in parallel, 3P means three batteries in parallel and so on). Of course, one can mix series and parallel connections to achieve various configurations; I decided on an 4S2P (meaning 4 in series, 2 in parallel, total of 8 batteries).
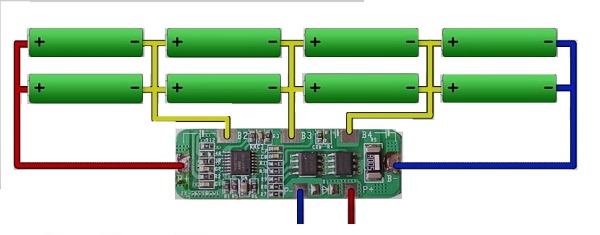
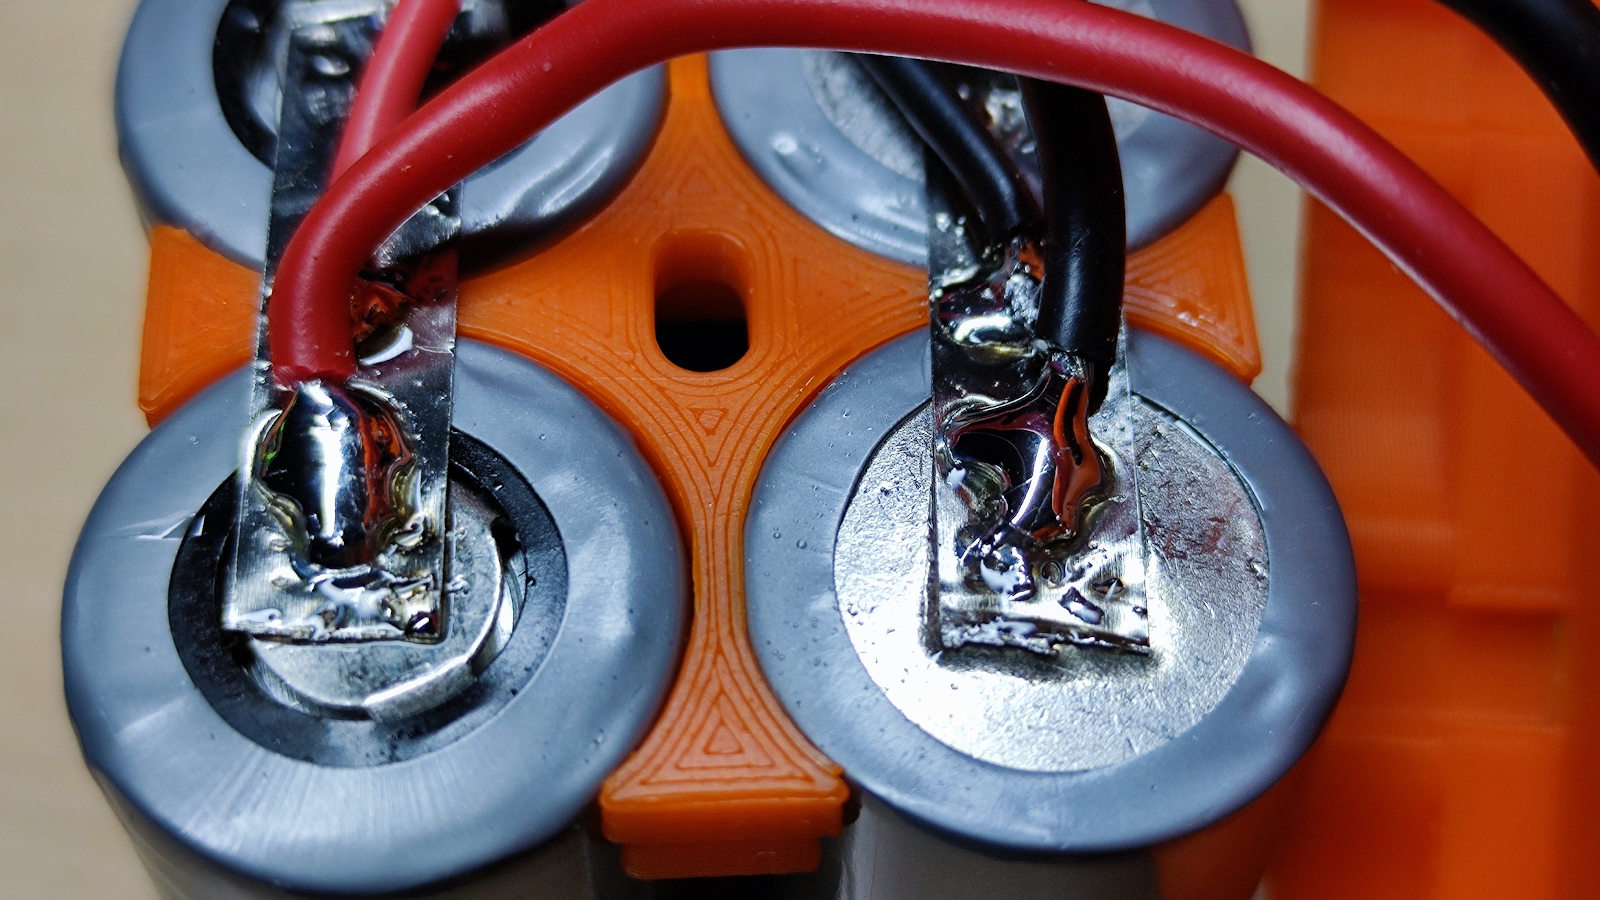
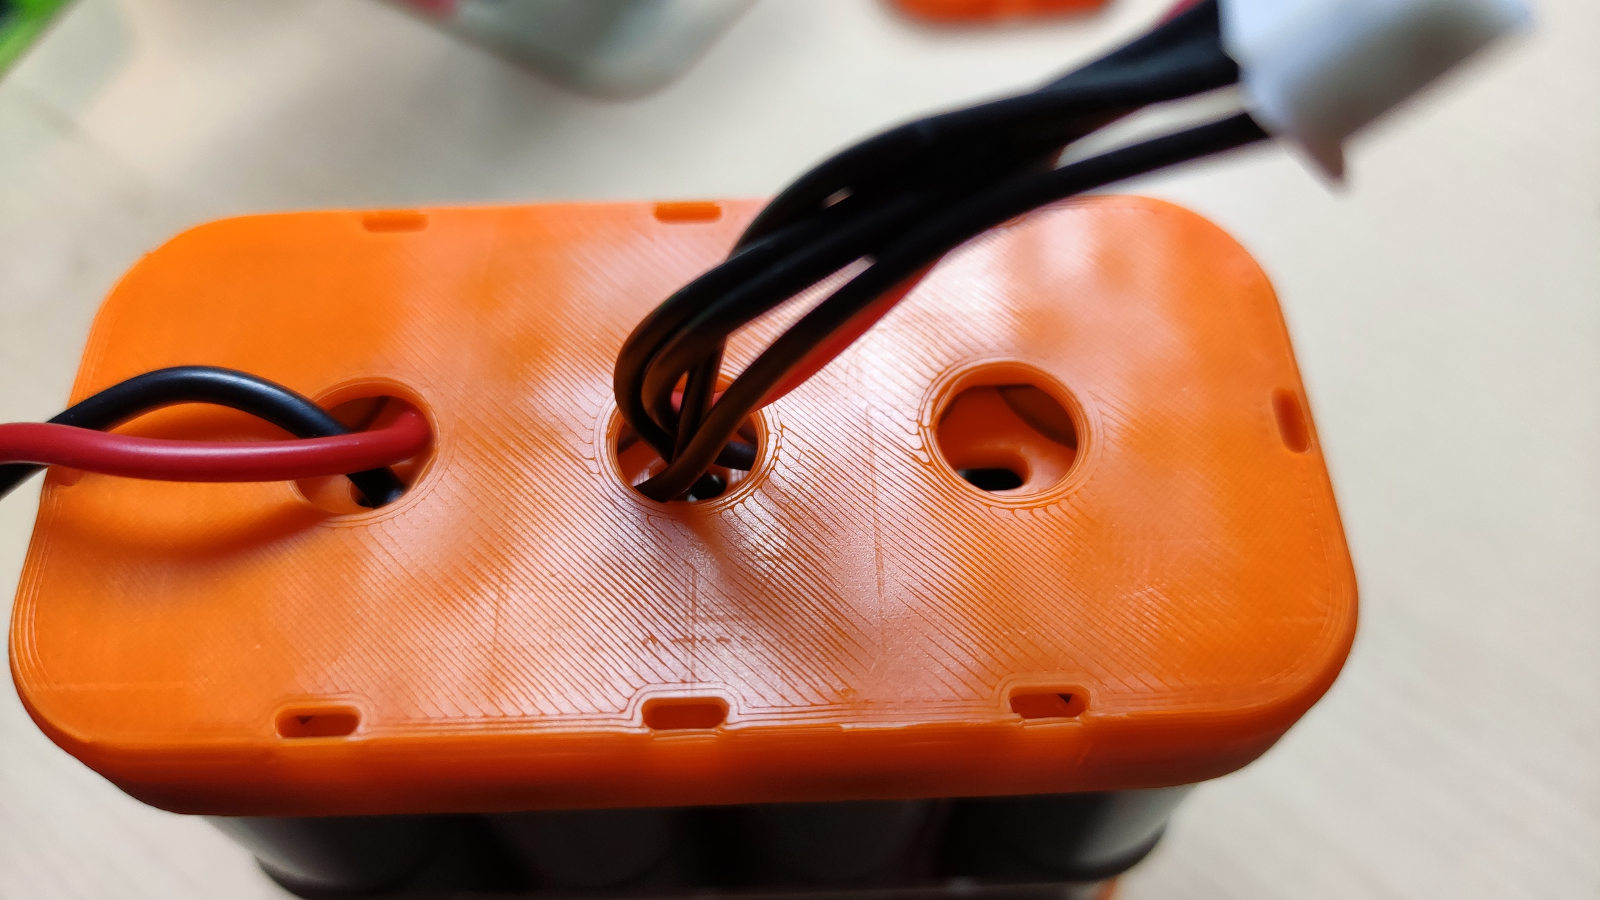
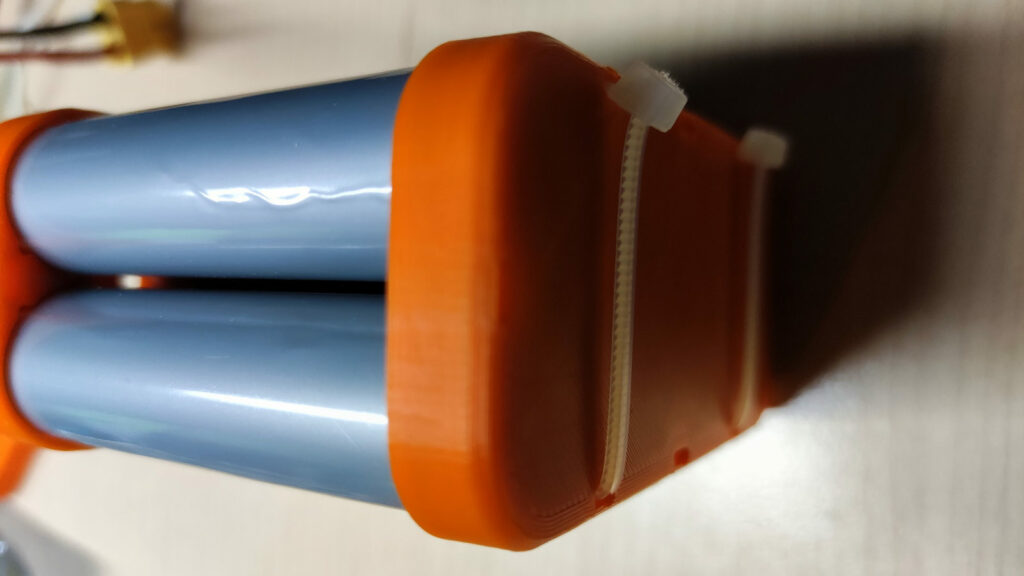
It’s very important to keep the elements “balanced” (you don’t want them to have very different voltages because too many reasons which I won’t get into); enough to say each pack needs to have a balance cable which gives the charger a way to measure the voltage for each element individually (for 4S2P, the 3 yellow wires in the above schema + 2 other wires for the + and -). The physical layout I used is “bend in the middle and bring over the ends” 🙂 which in real life looks like this:
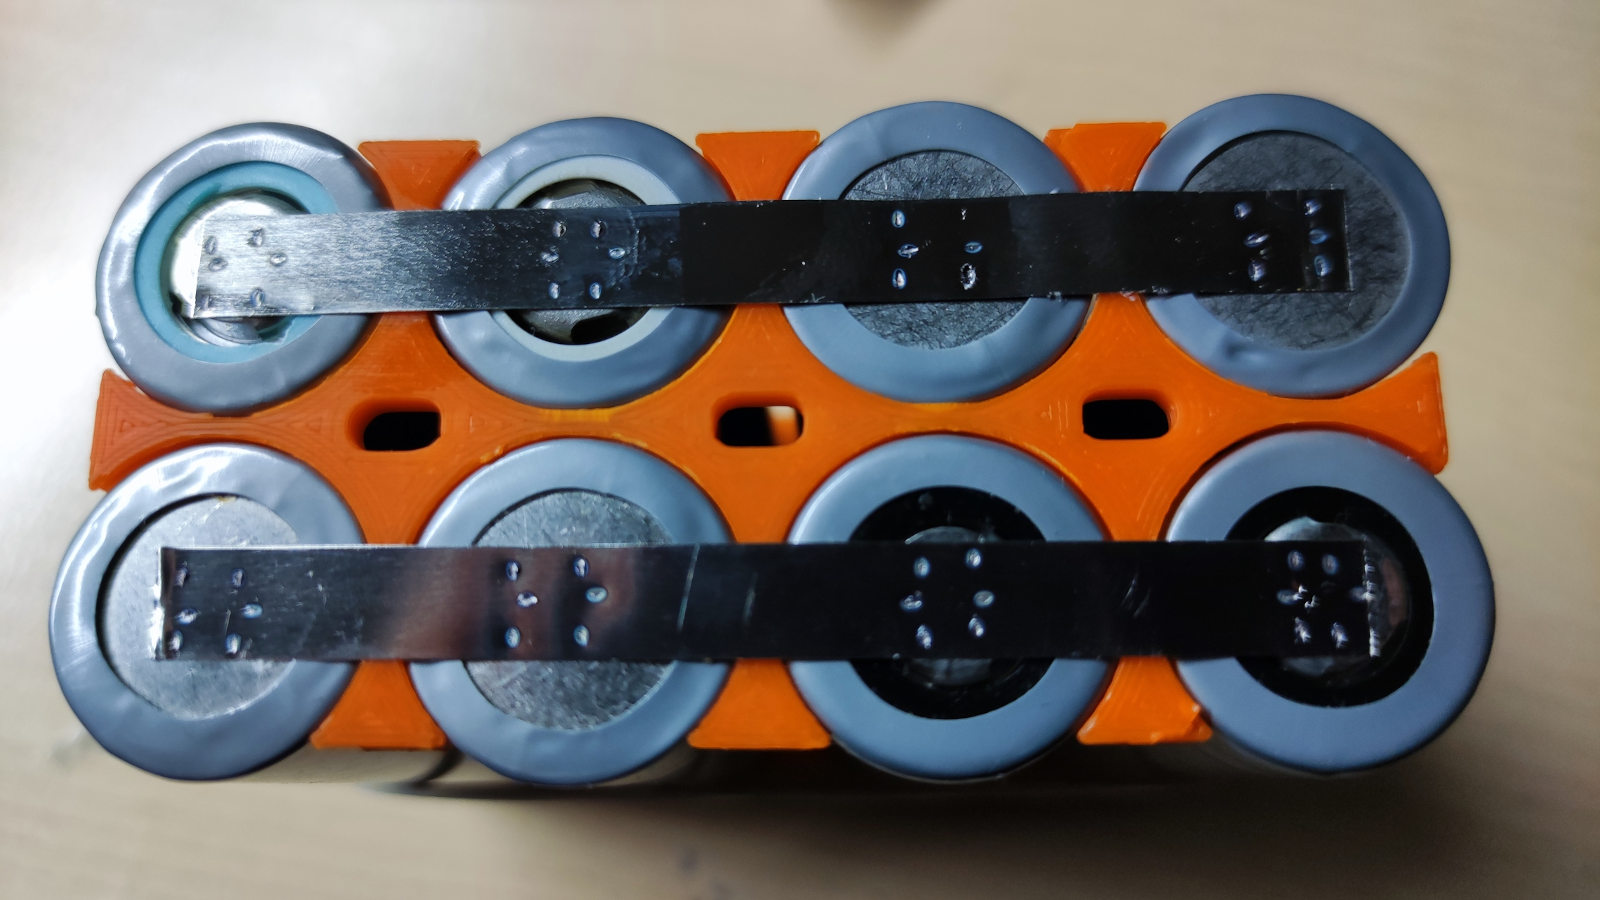
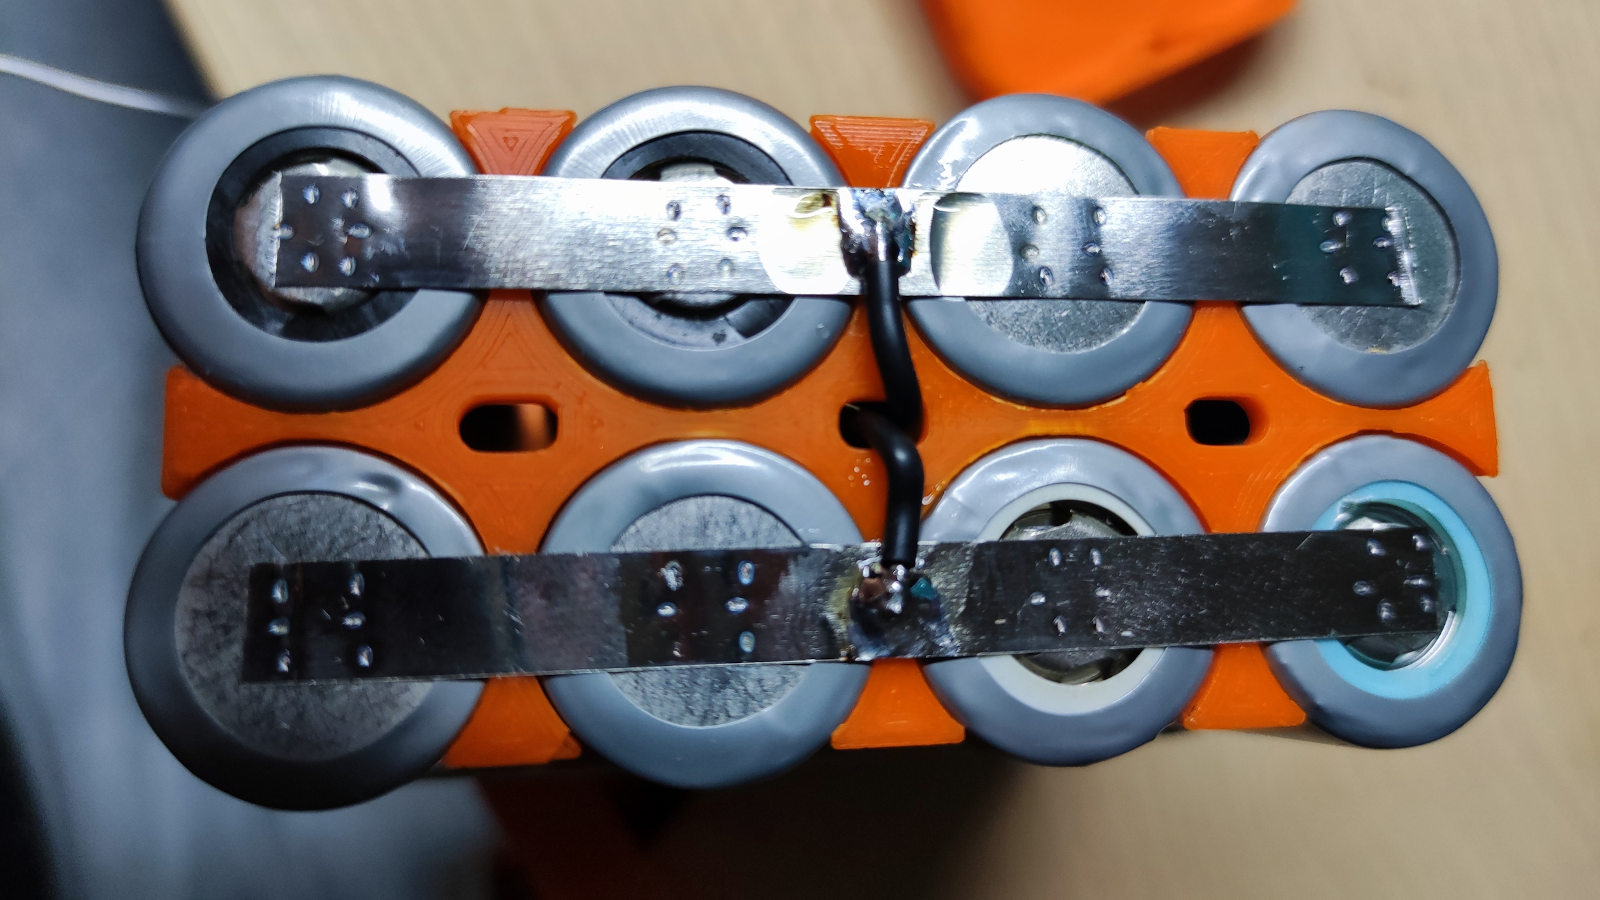
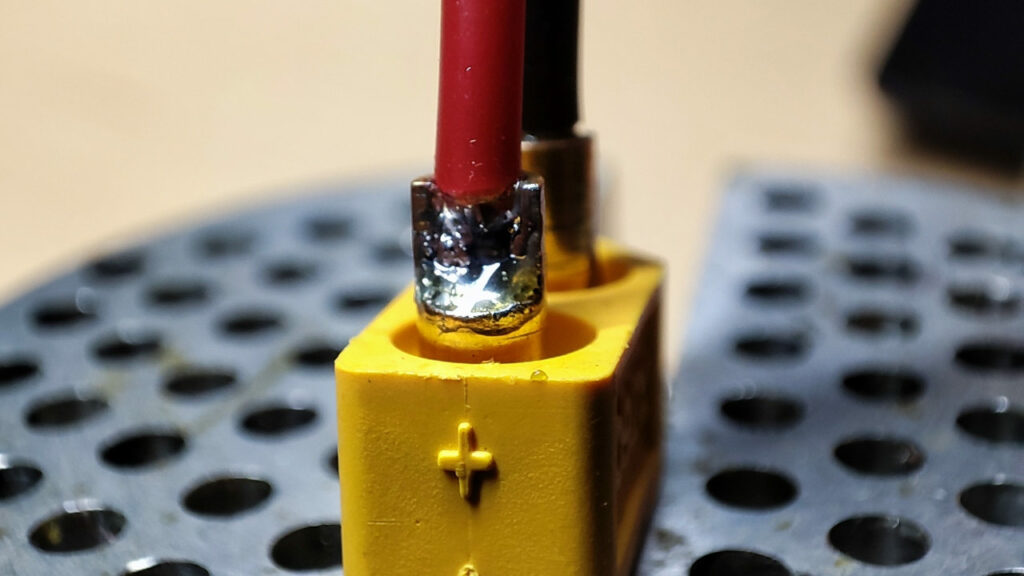
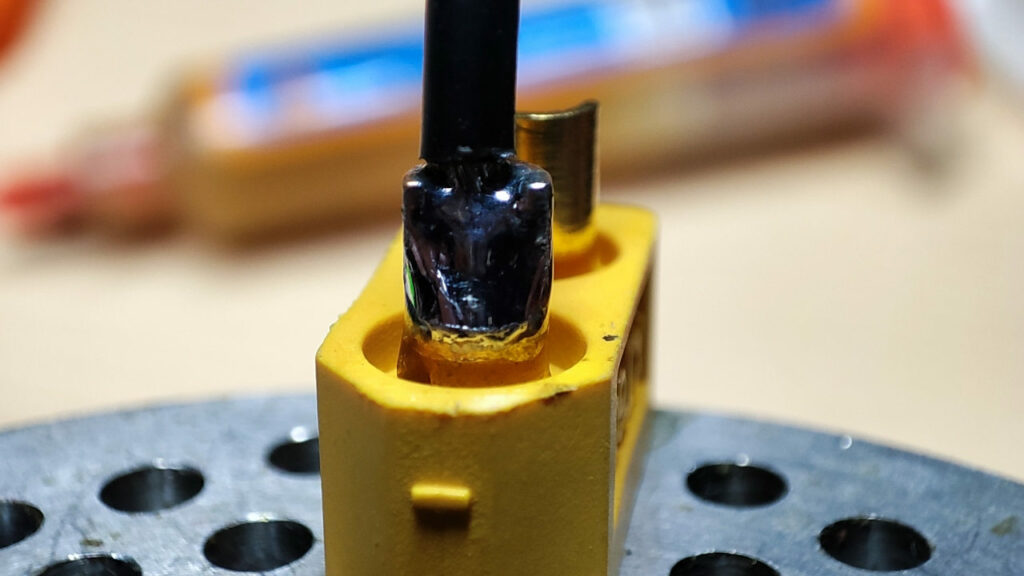
You cannot solder on 18650 batteries (well, you can, but it sucks and you risk damaging the battery), so perfect excuse to get a spot welder as a new toy as well.
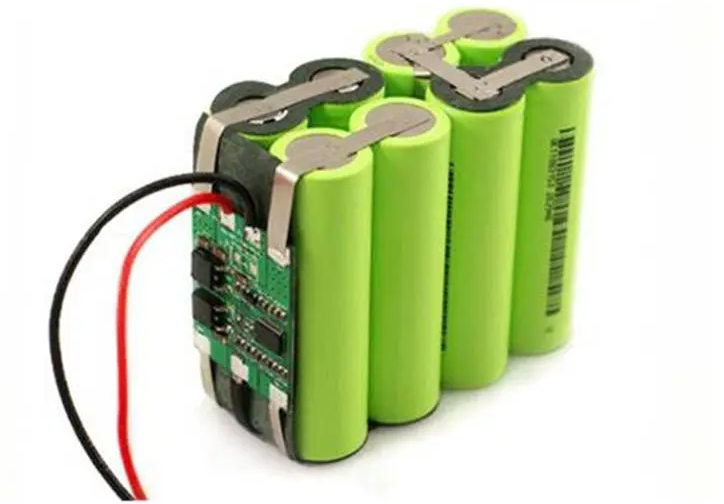
For the pack, after considering a lot of designs and even making one parametric one in OpenSCAD, I eventually settled on this one: https://www.thingiverse.com/thing:4628783 … and let’s get welding!


All good, nothing blew up, let’s test.
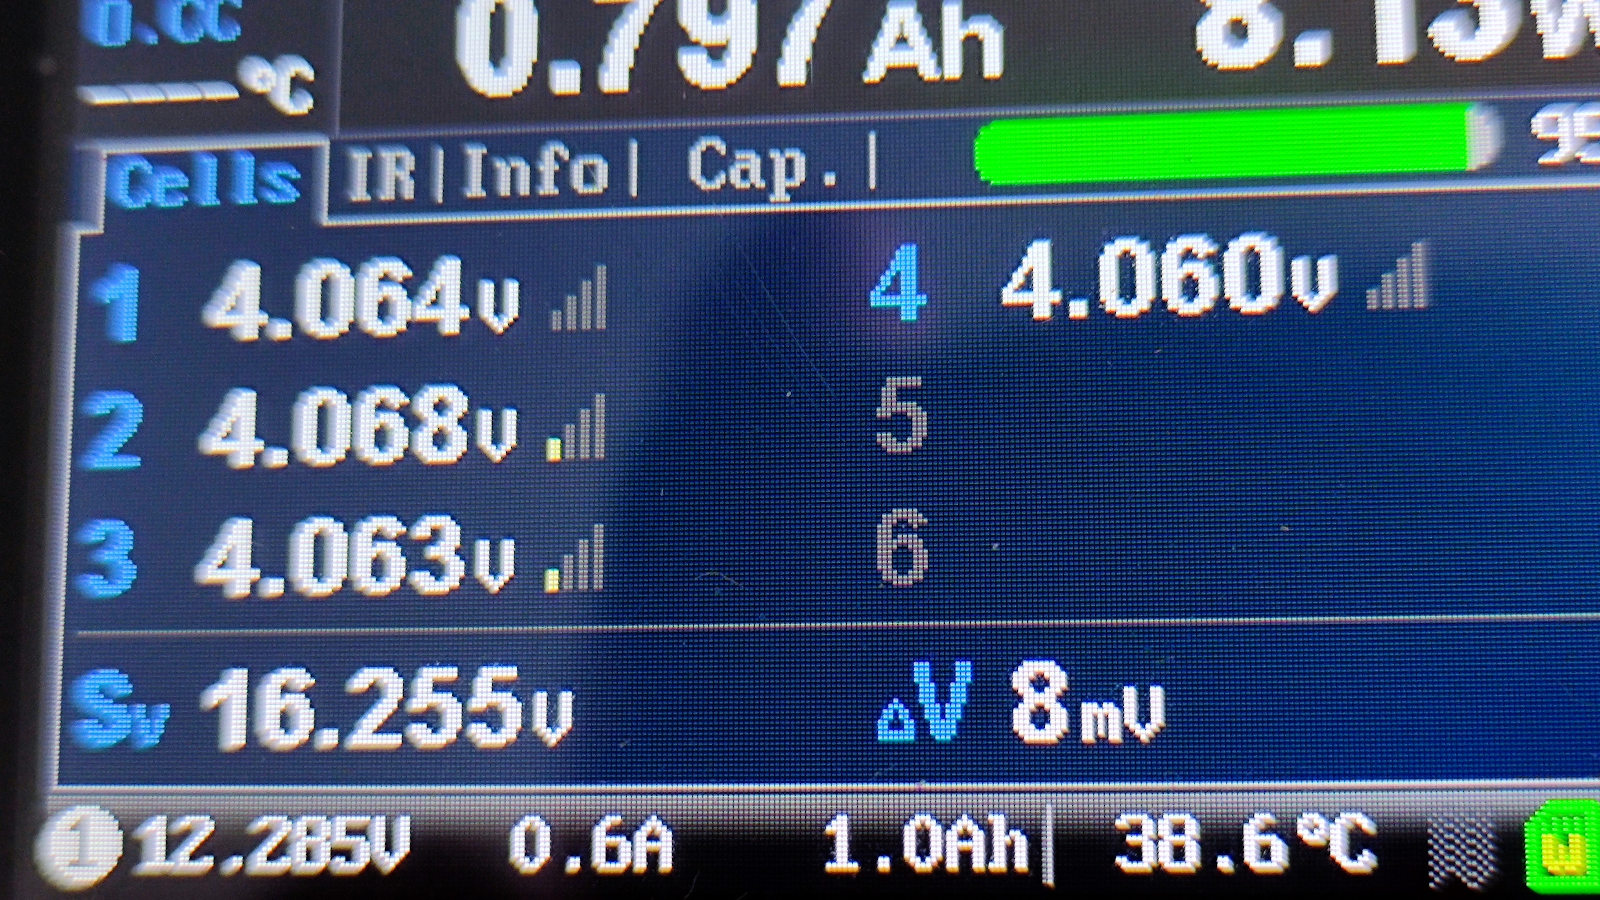

From the above discharge analysis, you can see element 2 is the worst (it also has the highest internal resistance) and is the first to reach 3.15V. This is perfectly fine to use, as long as YOU STOP USING THE PACK when this happens (even if the other elements would have more juice available). Once done, put it back on balanced charging.
Overall, this pack gives me about 2.2 Ah – not bad at all for something that would have went into the trash!